

Who doesn't love a rainbow? And what better way to celebrate a kid that brightens your day than with a rainbow cake?! Or, if you don't have any summer birthdays, it could be a fun activity to do with your kids to chase away boredom blues!
Although the process is a bit time-consuming, the actual list of ingredients is pretty simple!
*Two white cake mixes and everything you need to make them
*Food coloring (red, yellow and blue are all you need and you can mix them for the orange, green and purple!)
*Two containers of white frosting
*Wax paper or parchment paper (important!!)
*9x13 pan(s) (if you only have one or two, you can re-use them)

Once the cake mix was made, I divided it up equally (I think about 1 1/2 cups or so) into SIX bowls.
And now for the FUN part (kid-friendly...if you don't mind a few little food coloring stains here and there!, mixing in the colors...

Of course our PINK-lover picked the closest to her fave color: RED.

Judah was VERY serious about doing a good job of making the orange cake mix.

Gideon always wants anything BLUE!

And Gabby was just happy to be "one of the gang" today.
Here they are, line 'em up, ready to spread into a pan and cook...

VERY important step to line each pan with parchment or wax paper for easy removal and handling later since the layers are so thin.


Use some little clips to keep it in place while spreading out the mix with a spatula if desired. Only don't do as I did and put them in the oven until a funny smell make you check...
Bake each layers about 15 minutes or so, until lightly browned as pictured below.
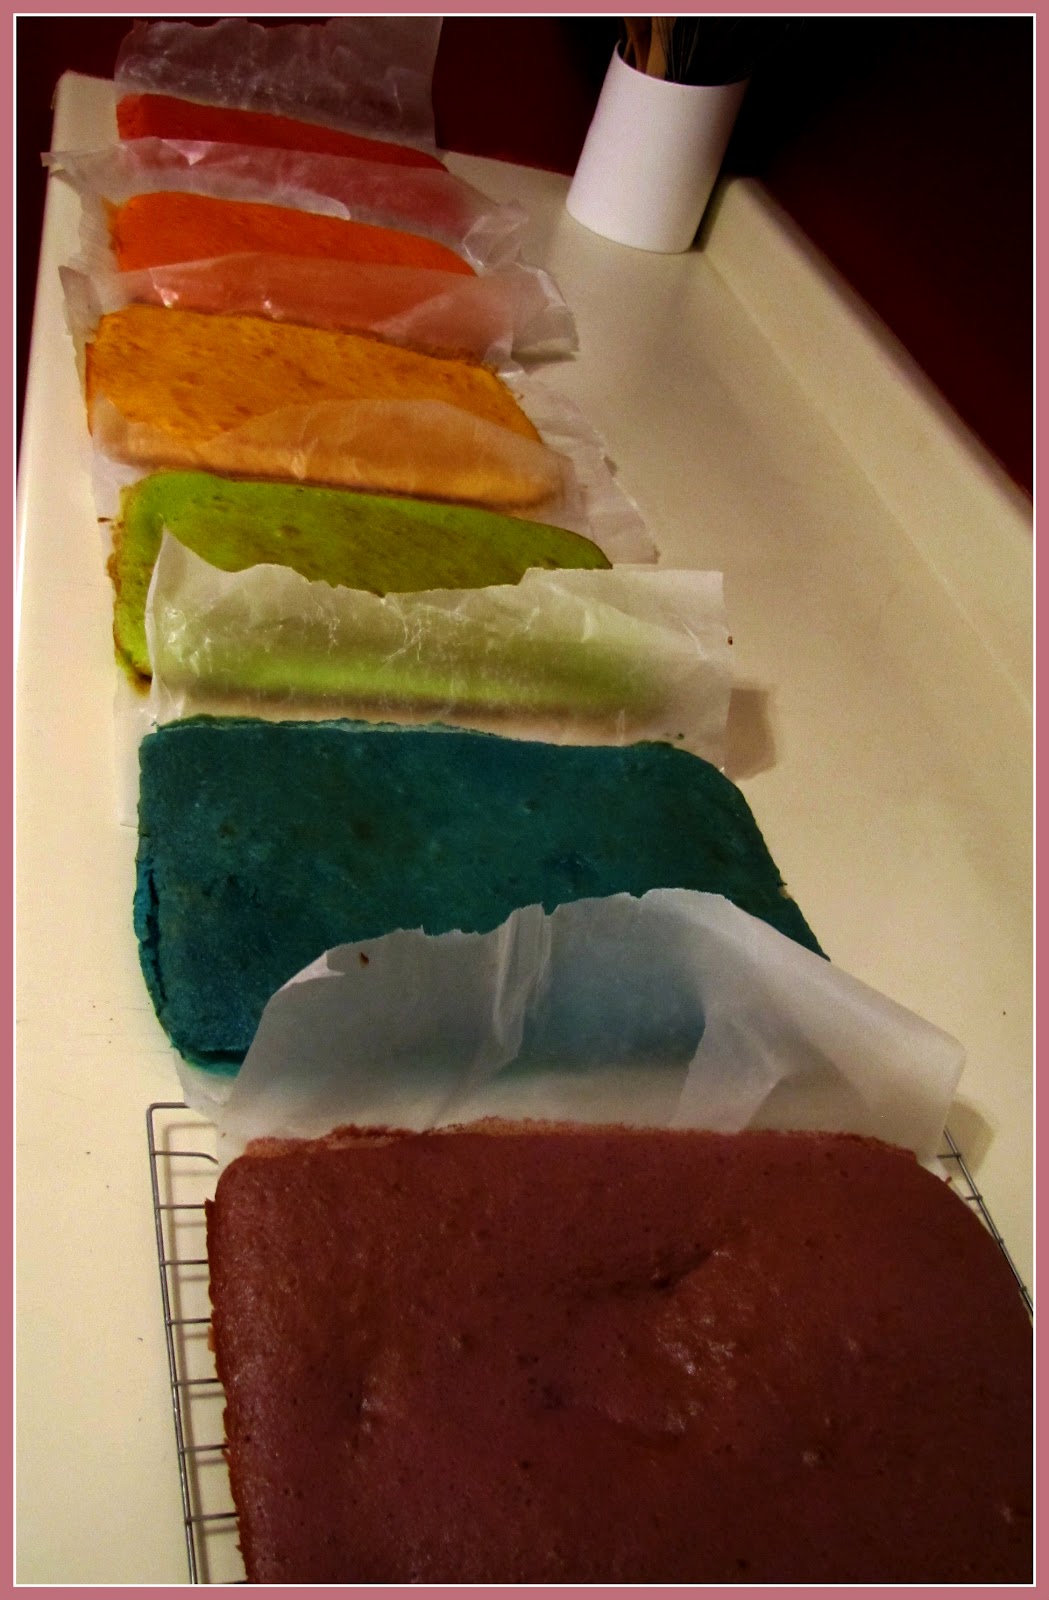
Bake each layer separately and let them cool on wire racks until your ready to stack 'em up!

Frost each layer and carefully place the next one on as you go, moving from bottom (purple) to top (red).

Viola! Now that you have that completed, time to compact the cake. Cover it with foil and slide it into your freezer, taking care to pile enough things on the top of it to "squish" the layers together as they freeze!


Mission Accomplished! Now that it is frozen and compacted, time to trim it and frost it for the grand finale! Use a large knife to trim off the edges (I can think of someone(s) that would help you not to waste those pieces, see below!) and frost before serving, or if desired, slices into individual squares or even circles (use a biscuit type cutter for that).


Hmmm...did I mention you would have NO problem finding little people to help you eat your colorful creation?!

The birthday boy, turning SIX!! (and, like most boys small AND grown, loves fire!)

Don't forget to treat yourself with a bite...or entire piece as well!!

3 comments:
Love love love it, you make it look so easy and fun. Can't wait to try it in our house.
Thank you, Rachel! Though it wasn't too hard, I didn't post pics of all the dirty dishes and mess it made that we cleaned up afterwards, lol! But, mess and all, it was fun and the end result was worth it! Post some pics on FB if you do make the cake, I would love to see it!!
Okay I will, don't know when I'll make it, but I'll post them.
Post a Comment